Setting up a dedicated charging station for your devices is a great way to keep your space tidy and ensure all your gadgets are ready to go when you need them. With smartphones, tablets, headphones, smartwatches, and other electronics becoming part of daily life, centralizing their charging needs can save time and reduce clutter.
In this post, we’ll guide you through the steps to create an efficient and stylish charging station that fits your home or office perfectly.
Why Set Up a Charging Station?
Before diving into the setup, let’s look at the benefits of having a charging station:
– Organization: Keeps all devices and cables in one place.
– Efficiency: Charges multiple devices simultaneously.
– Safety: Avoids tangled wires and potential trip hazards.
– Aesthetics: Offers a clean and streamlined look to your space.
– Device care: Reduces wear on cables by providing dedicated charging spots.
Step 1: Choose the Right Location
Selecting the right spot is key to a successful charging station.
– Accessibility: Pick a place that’s easy to reach, such as a desk, countertop, or entryway table.
– Proximity to Power Outlets: Ensure multiple power sockets are available or bring a power strip.
– Ventilation: Avoid enclosed spaces to prevent overheating of devices.
– Visibility: A spot where you can quickly check device status is helpful.
Some popular places include kitchen counters, office desks, living room shelves, or bedside tables.
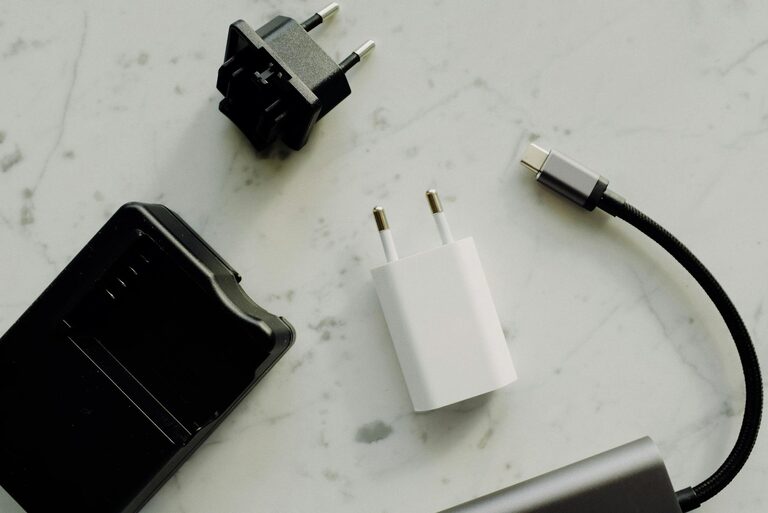
Step 2: Decide on the Equipment
You’ll need the right tools and accessories to build a functional station.
Chargers and Power Sources
– Multi-port USB chargers: These can charge several devices at once and reduce the number of adapters.
– Wireless chargers: Ideal for compatible phones and earbuds, minimizing cable clutter.
– Power strips: Useful if your space lacks multiple outlets; consider one with surge protection.
Organizers and Holders
– Charging docks: Designed to hold devices upright while charging.
– Cable organizers: Clips, ties, or sleeves help manage wires neatly.
– Storage boxes or trays: Keep chargers and accessories contained.
Step 3: Organize Your Cables
Cables are often the biggest source of clutter. Here’s how to manage them:
– Use cable clips to route wires along desks or walls.
– Bundle excess cable length with Velcro straps or twist ties.
– Label cables to easily identify the right one.
– Consider using a cable sleeve to group multiple cords together.
Maintaining a cable management system not only looks better but also prevents tangling and possible damage.
Step 4: Arrange Your Devices
Decide how you want to place your devices for charging.
– Stand upright using docks or holders to save space.
– Group devices by type, for example, phones on one side and tablets on another.
– Ensure there is enough space to remove devices without unplugging cables.
Step 5: Maintain Your Station
To keep your charging station functioning smoothly:
– Clean it regularly to remove dust.
– Check cables and chargers for wear and replace if necessary.
– Keep software on your devices updated to optimize charging.
– Avoid overloading power strips.
Bonus Tips
– Add a small label or sign to remind everyone which cables belong to whom in shared spaces.
– Use a timer plug to cut off power automatically during certain hours to save energy.
– Consider a decorative element like a plant or photo frame to blend the station with your décor.
Conclusion
Creating a charging station is a simple project that makes daily device maintenance easier and neater. By choosing the right location, investing in multi-port chargers, organizing your cables well, and regularly maintaining the area, you can enjoy a clutter-free and efficient charging setup.
Why not start today? A little preparation goes a long way toward keeping your devices powered up and your space orderly!